

Learn Home Sharpening the Right Way
I created this page to share my experience with anyone interested in learning to sharpen their own knives. Sharp knives make cooking easier, safer and far more enjoyable — yet most people don’t realise how big the difference can be!
While Blunt Solutions offers a professional mobile sharpening service, many people want to understand the process or maintain their own knives at home. This guide covers:
The benefits and limitations of sharpening yourself
The tools you can buy for less than £60
DIY methods (maintenance & sharpening solutions)
Enjoy hands-on work and like practical skills
Want long-term savings once you’ve bought your setup
Sharpen anytime (Just get your home system out of the cupboard).
Have the interest, time and patience to set yourself up for life.
Happy with slower results and a lower standard than a pro
Only have a few knives and they suit home systems (simple shapes, no repairs needed)
Want to share the skill or just enjoy the learning process
Are excited to learn and practice
Learn the skill yourself if you…
Use a professional services if you…
Want perfect, razor-sharp results, sharper than new
Want to compare the difference between professional and DIY equipment
Have lots of knives
Want convenience and speed
Want cheaper upfront cost without the worry
are a professional chef/cook and want to focus on food.
Wish to avoid silly mistakes and experimentation on expensive knives
Need re-shaping and repairs too
Are not practical in this way. For many this can be hard to learn off YouTube*
*It is hard to diagnose your own mistakes. We have been through that frustrating learning curve and offer our services so you have great results without the frustration. With a little direction and correction, sharp results are possible
DIY Methods Review
-
![roller system for sharpening knives]()
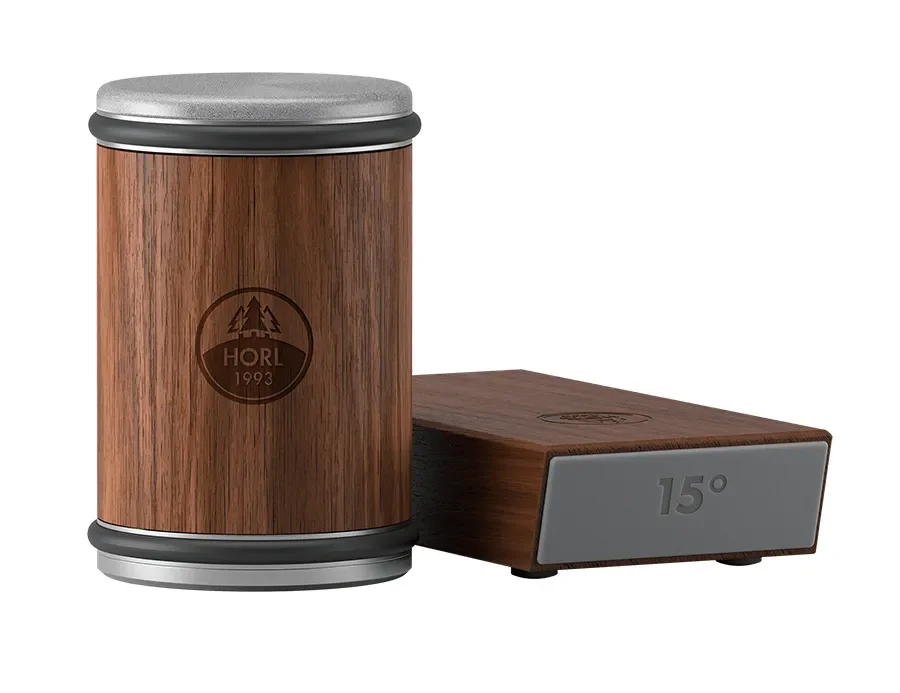
Roller System
Vary in quality. Expensive for high-quality rollers.
£20+
⭐⭐⭐Average - Good
🟢Low Skill
-
![Person sharpening a knife using a whetstone on a wooden work surface.]()
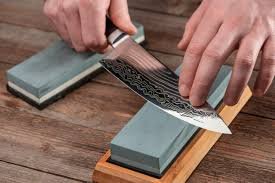
Whetstone
Classic option. Low-cost, common, but tricky requiring skill and knowledge. High potential once learned but steep learning curve. Easy to damage the blade if the angle is wrong
💷 £35+
🔴Very High skill
⭐⭐⭐⭐ High quality
⏳Long
-
![Diamond Whetstone Sharpening]()
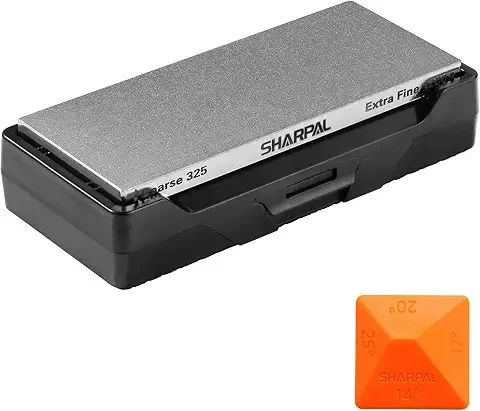
Diamond Whetstone
Simple and effective like the whetstone, used for high-hardness steels
💷 £42+
🔴Very High skill
⭐⭐⭐⭐ High quality
⏳Long
-
![Sharpal multi-tool sharpener with black slots for sharpening knives and blades.]()
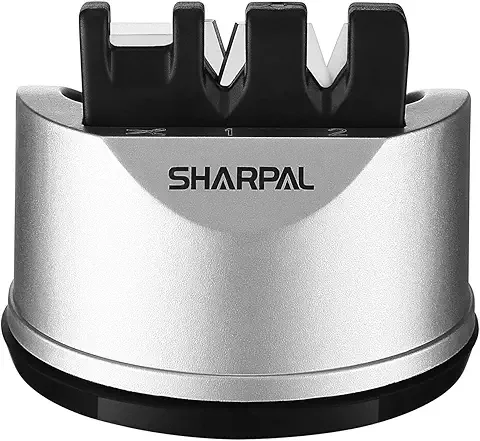
Dragging (Pull-through) Sharpener
Quick & easy, OK results, can damage or scratch knife, better than nothing. Doesn’t work well on high-quality or Japanese blades
💷 £14+
🟢Very Low
⭐ Very Low quality
⏳Very Short
-
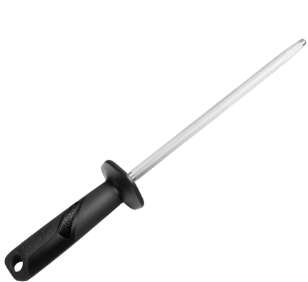
![Honing Rods (steel or ceramic)]()
Honing Rods (steel or ceramic)
A honing rod doesn’t sharpen — it re-aligns the edge and it keeps knives sharp for longer. Quick daily maintenance. Needs proper technique
Best for: Maintaining sharpness between proper sharpening
💷 £17
🟡Medium
⭐⭐⭐ Decent for extending life of sharp knife
-
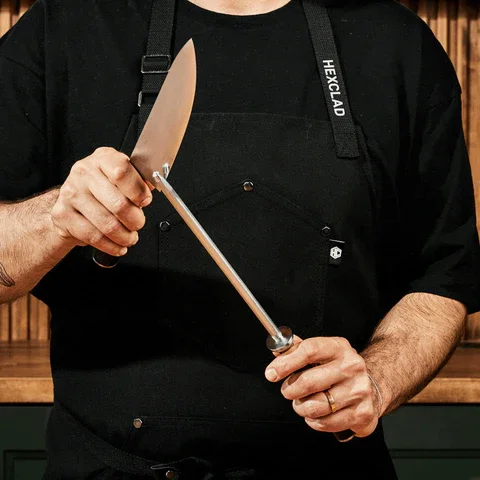
![sharpal sharpening steel]()
Sharpal Sharpening Steel
A Sharpal steel does remove a small amount of metal — giving you a quick boost in sharpness as well as edge realignment. Great for home cooks who want something stronger than a honing rod but easier than stones.
Best for: Quick touch‑ups and restoring a slightly dull edge
💷 £24.99
🟡 Medium
⭐⭐⭐ Good for fast, noticeable sharpness between proper sharpening
My Favourite Videos
For DIY sharpening solutions, I would recommend to try starting with whetstones and if that’s too difficult switching to the Sharpal Sharpening Stone
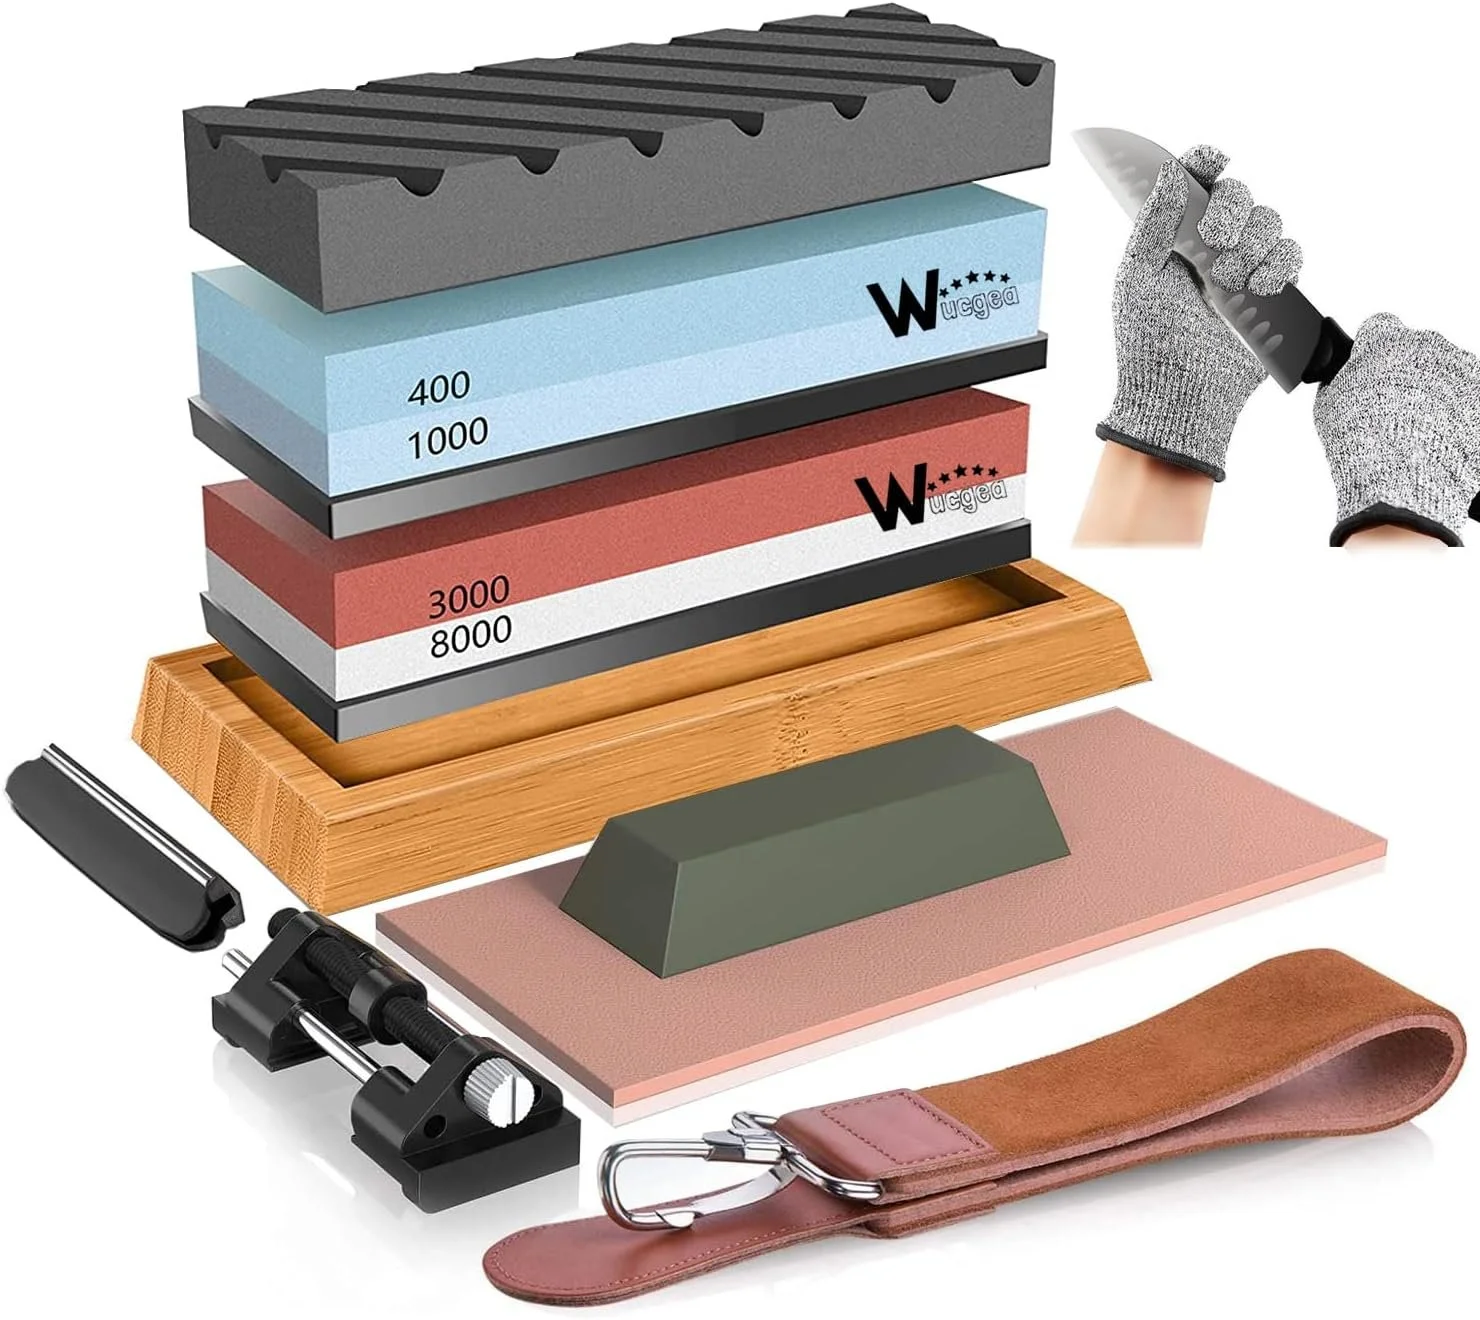
This set has everything to get started and to learn with. Upgrading the stone may help once you’re up and running but this is a great first kit. I’ve managed to get some great results using this kit. Takes a while though when compared to my professional sharpening machines.
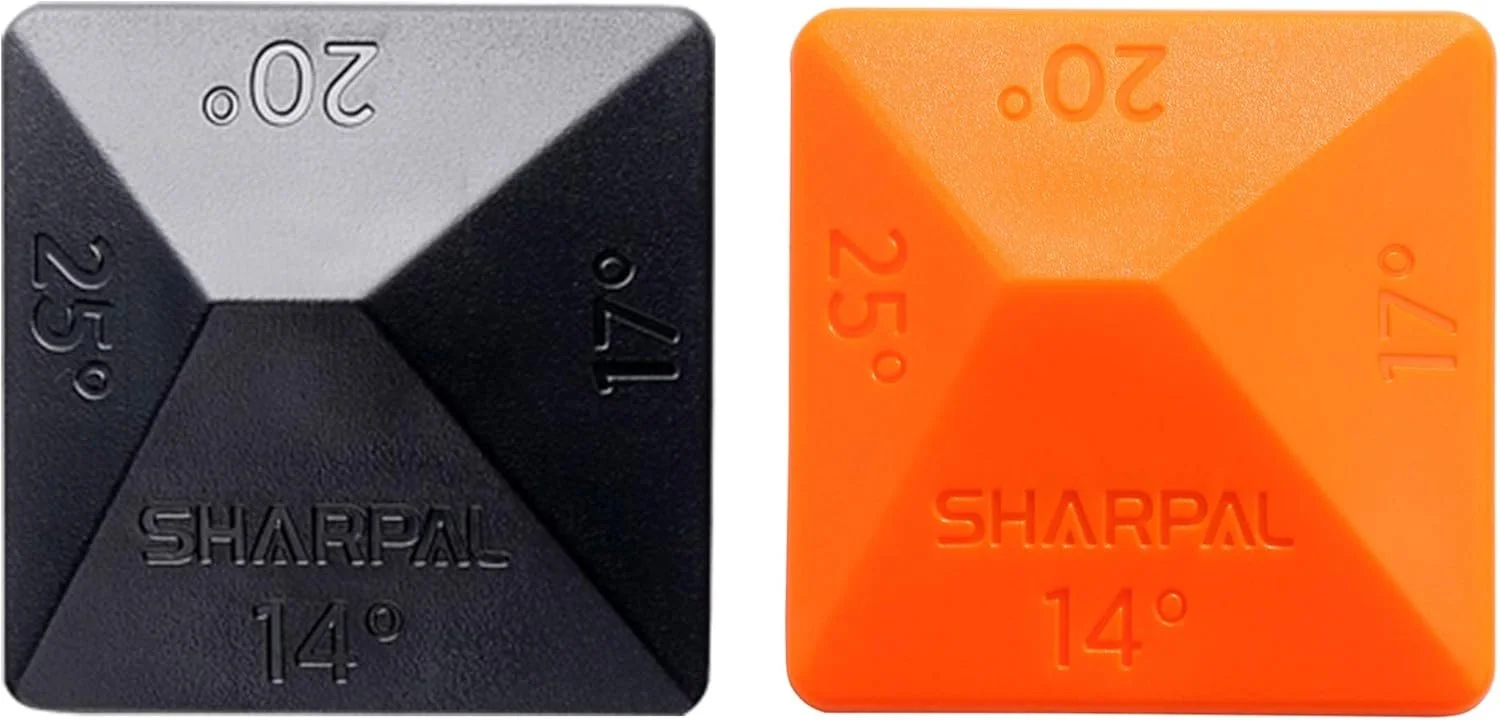
Finding and sticking to a consistent angle is essential. Using this on the stones guides you to your desired angle. After a while your hands learn the movement and this is not required but it is a great aid for learning.
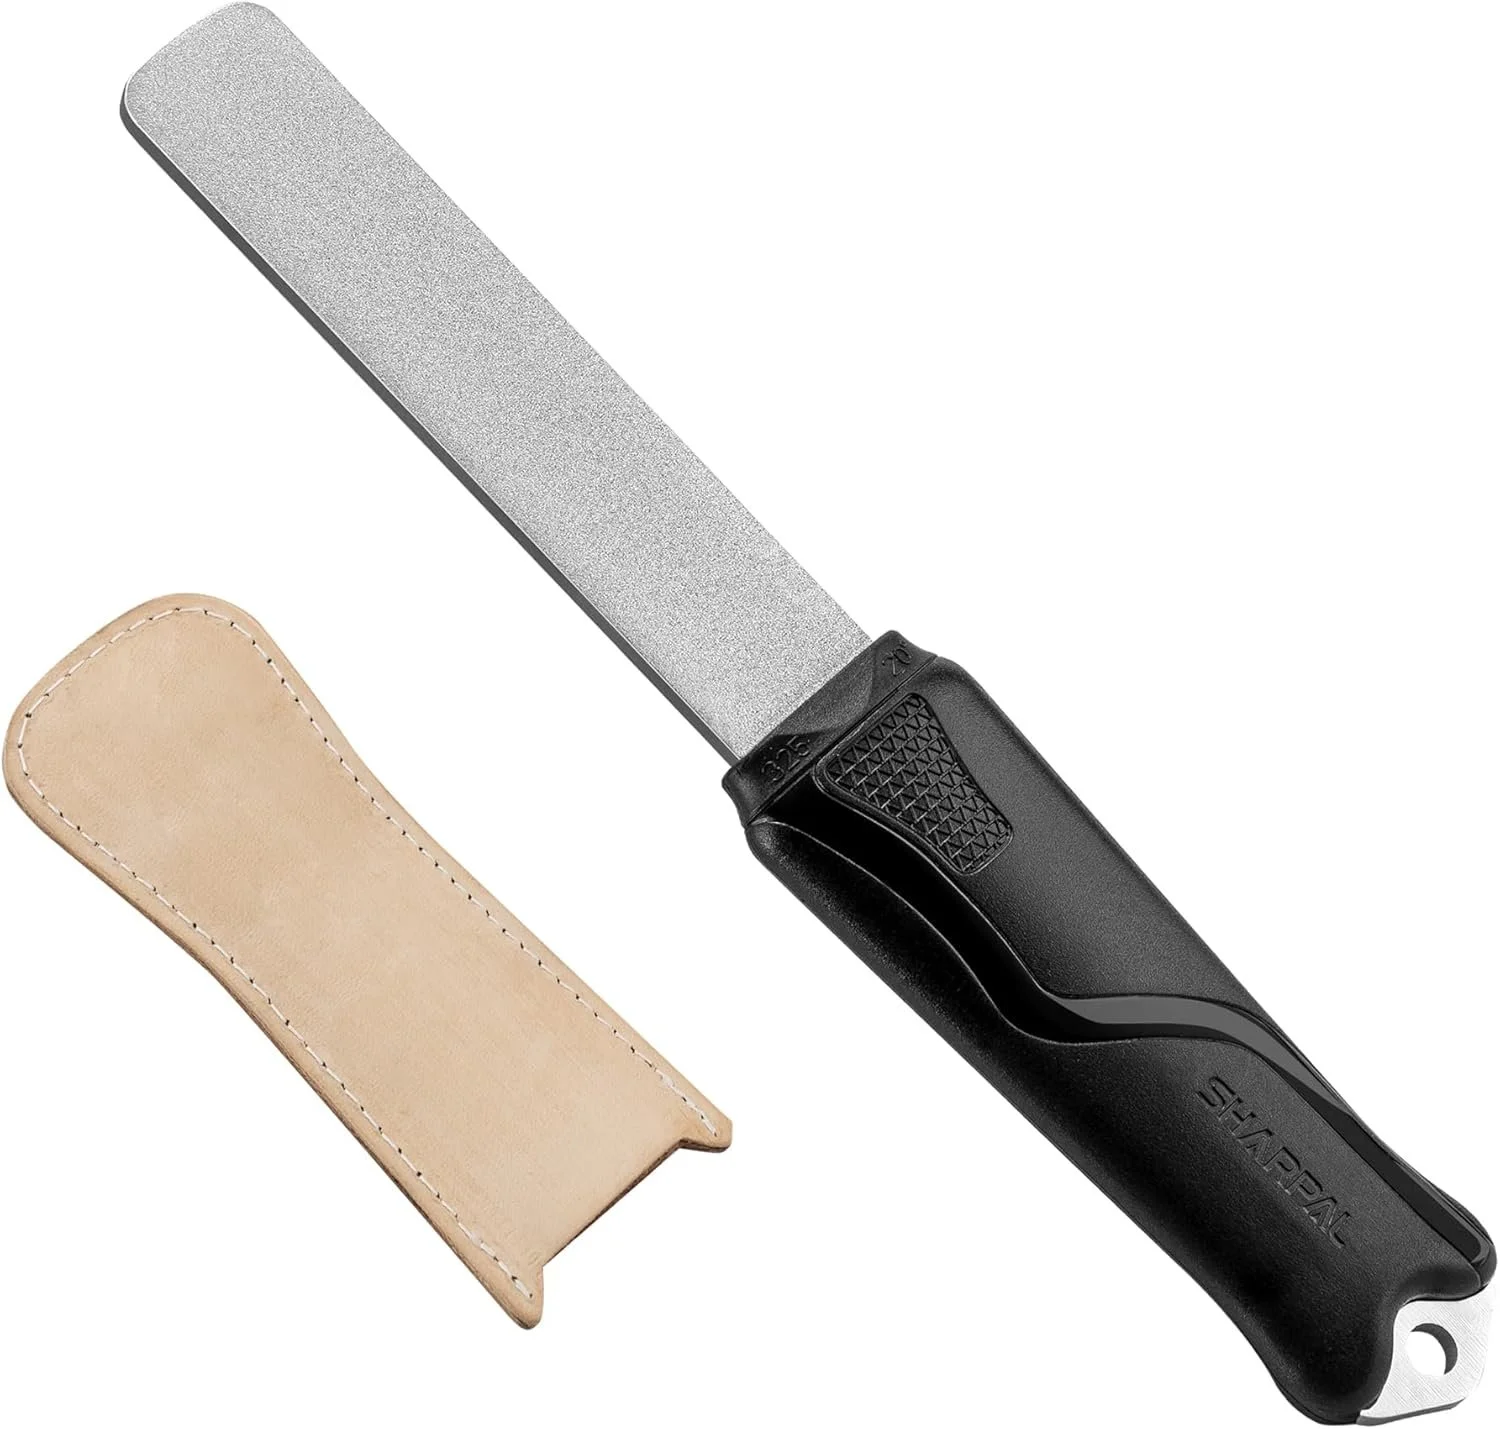
Not traditional but is easy, effective, cheap and portable. I love this. Very versatile. My favourite alternative DIY sharpening solution/tool.
Method
Decide on an angle
Sharpen edge until a burr can be felt down the entire blade
Use a strop to remove the burr and polish
Check the sharpness quality with a paper test
Common Mistakes
Picking too shallow an angle. You want as small an angle as possible but the angle can also be too small. Better to have a slightly bigger angle (if well formed). Pick an angle that creates a new bevel on the blade. Don’t try to match the factory angle on the blade. You want to take away as little metal as possible to extend the life of the blade
Not sharpening for long enough. Hand sharpening systems/DIY sharpening solutions take a lot of time, especially at first and with whetstones. It may take you 10-15 mins to establish your first burr. That fist burr is so important. You should get one on every stage of stone fineness, even for the very first rough stone you start on. Don’t move on until you have one.
Burr not significant enough. Make sure the burr is significant and across the whole of the blade before stropping. The areas without a burr will not become sharp after you strop.
Listening to too many people. There is a whole world of advice out there. Find a good teacher and stick with them. Then branch out when you have the basics mastered.
If anything is unclear please get in touch. We would like to help everyone get their kitchen knives as sharp and safe as possible, whether that is through our professional sharpening service or via DIY solutions too.